Documentation Index
Fetch the complete documentation index at: https://docs.tryarchitect.com/llms.txt
Use this file to discover all available pages before exploring further.
Select Trigger to be Webhook
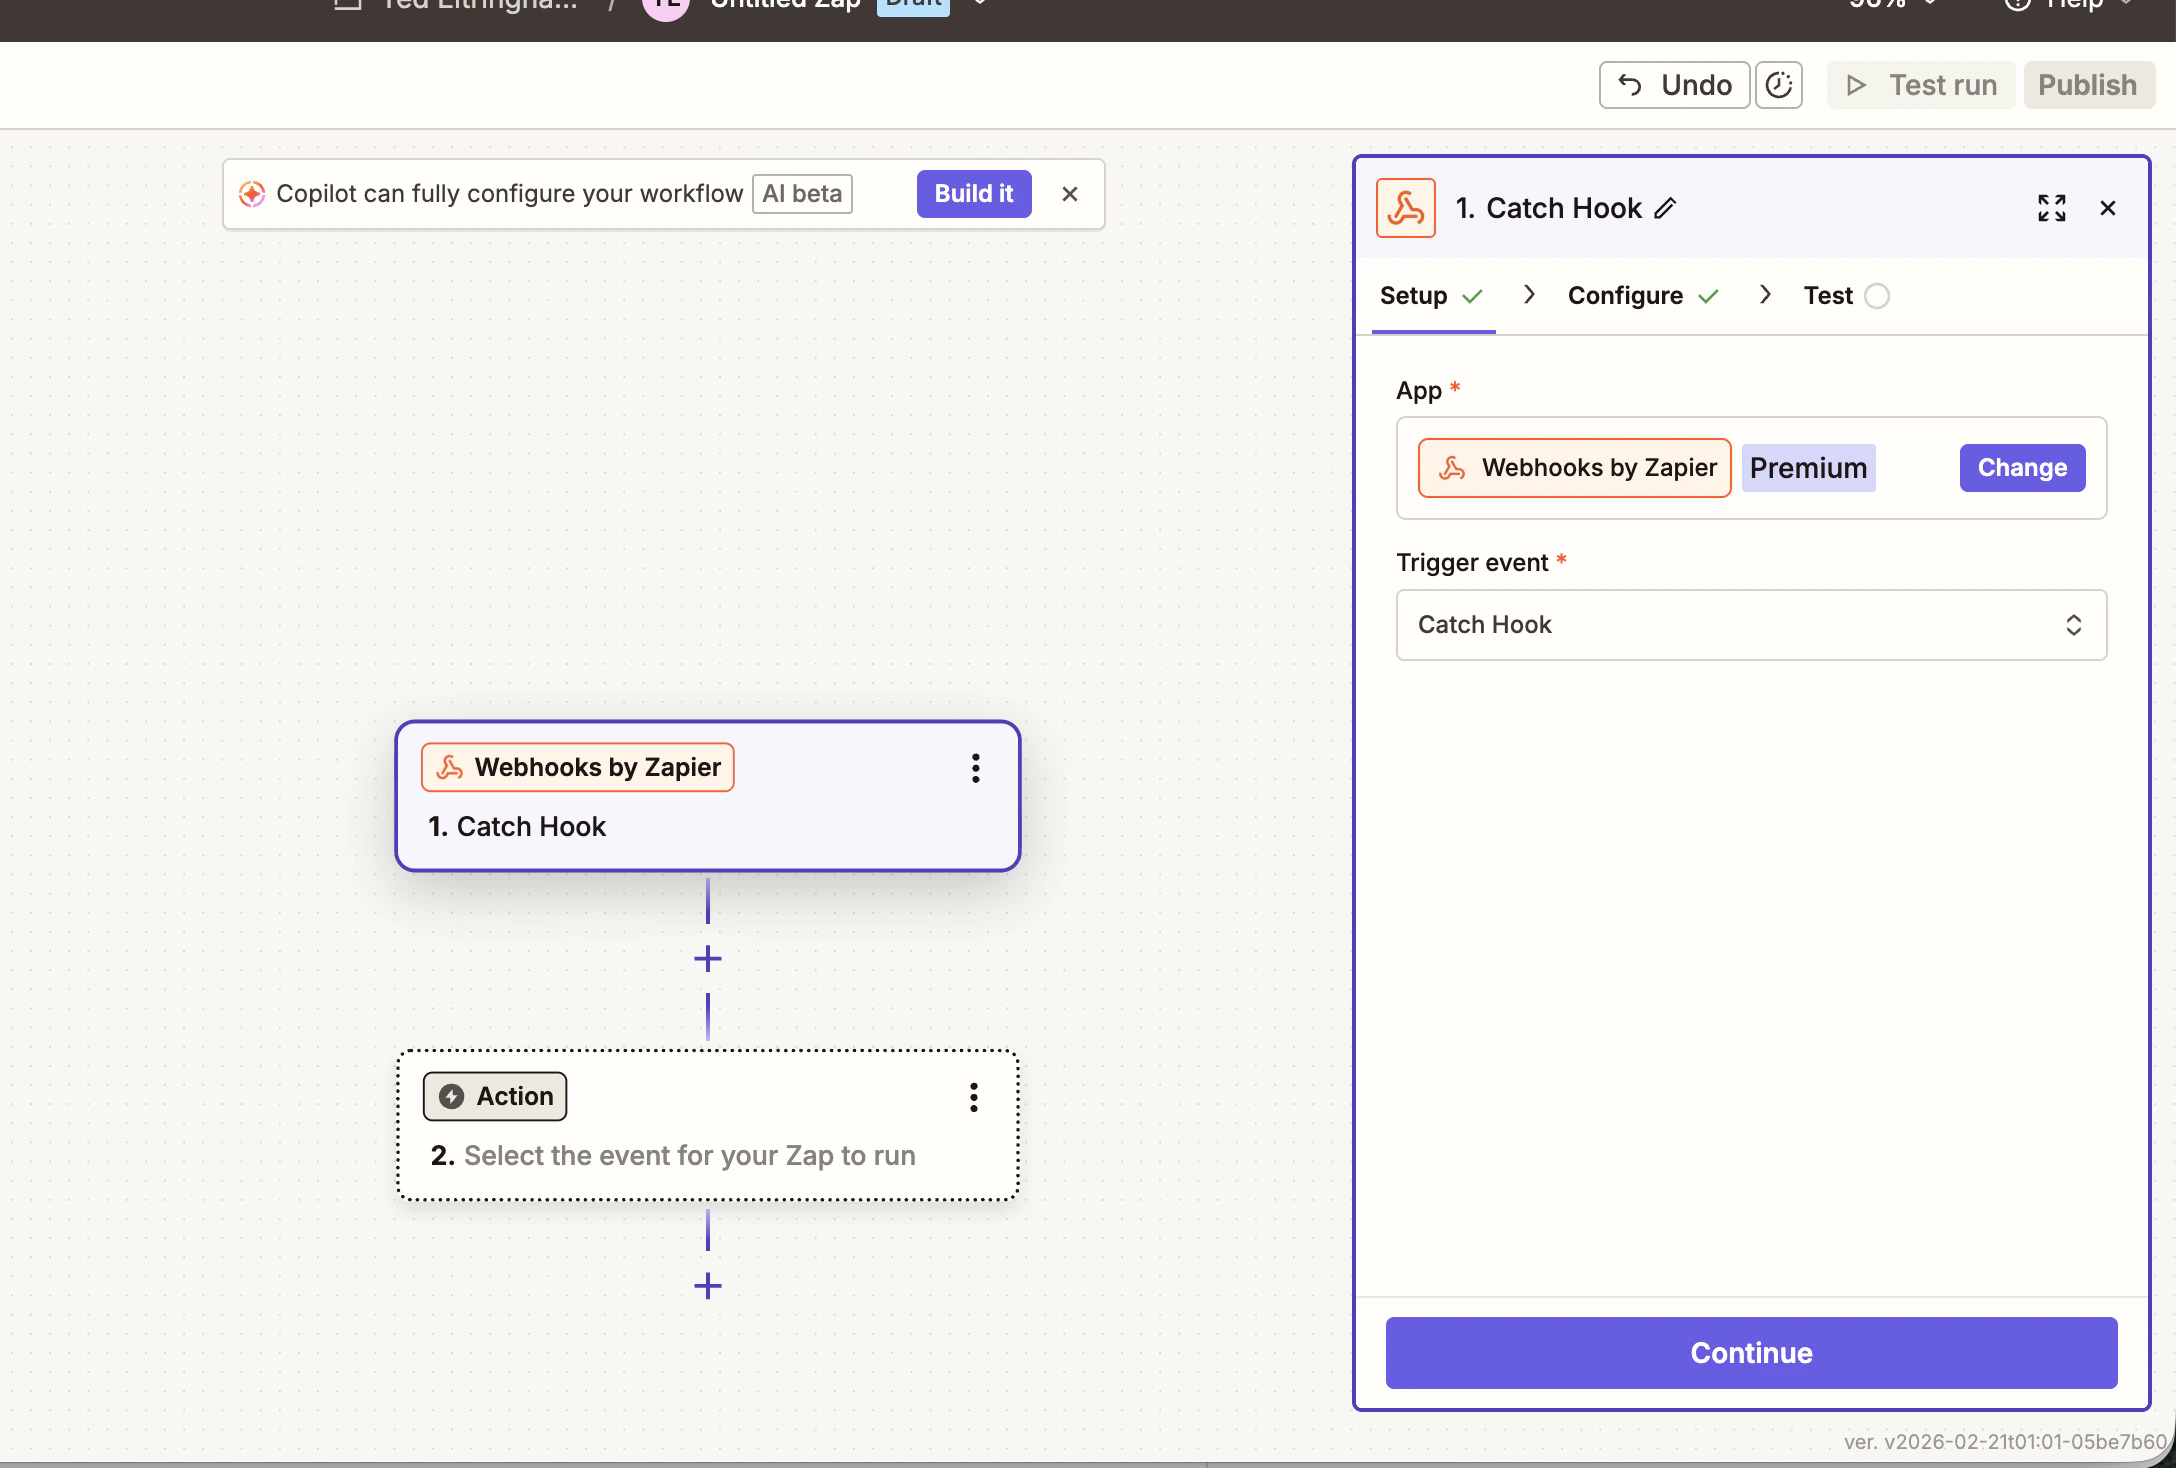
- Trigger Event = Catch Hook
- Click Continue
- Leave the Child Key blank and click Continue
- Copy the Webhook URL
Go to Architect Platform
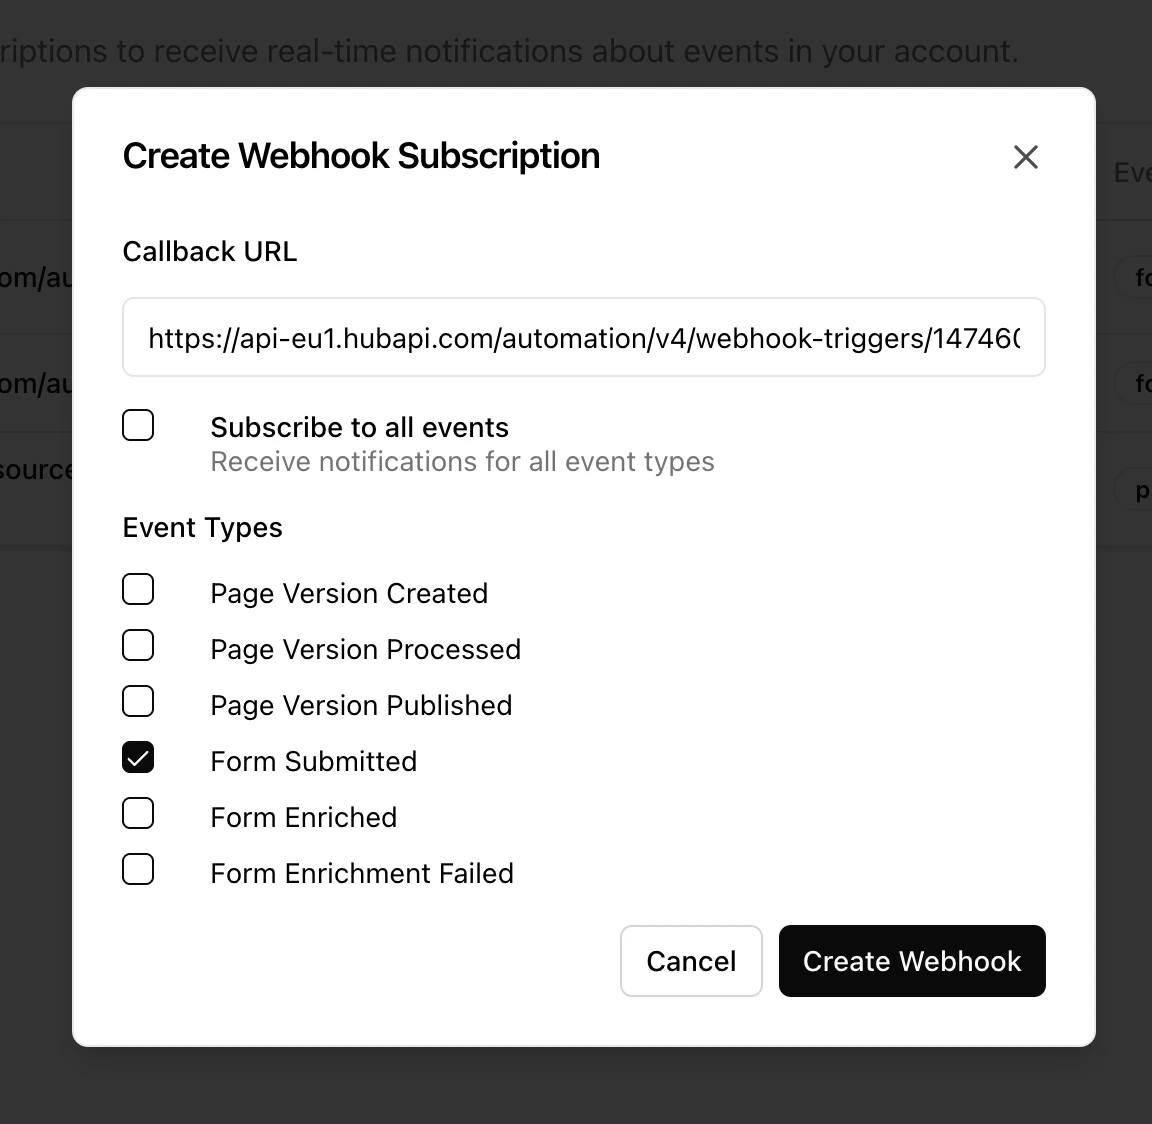
- Go to Settings, Webhooks and create a new Webhook
- Paste the URL into the callback URL and select “form submit”
-
Click “Create Webhook”
Test your trigger
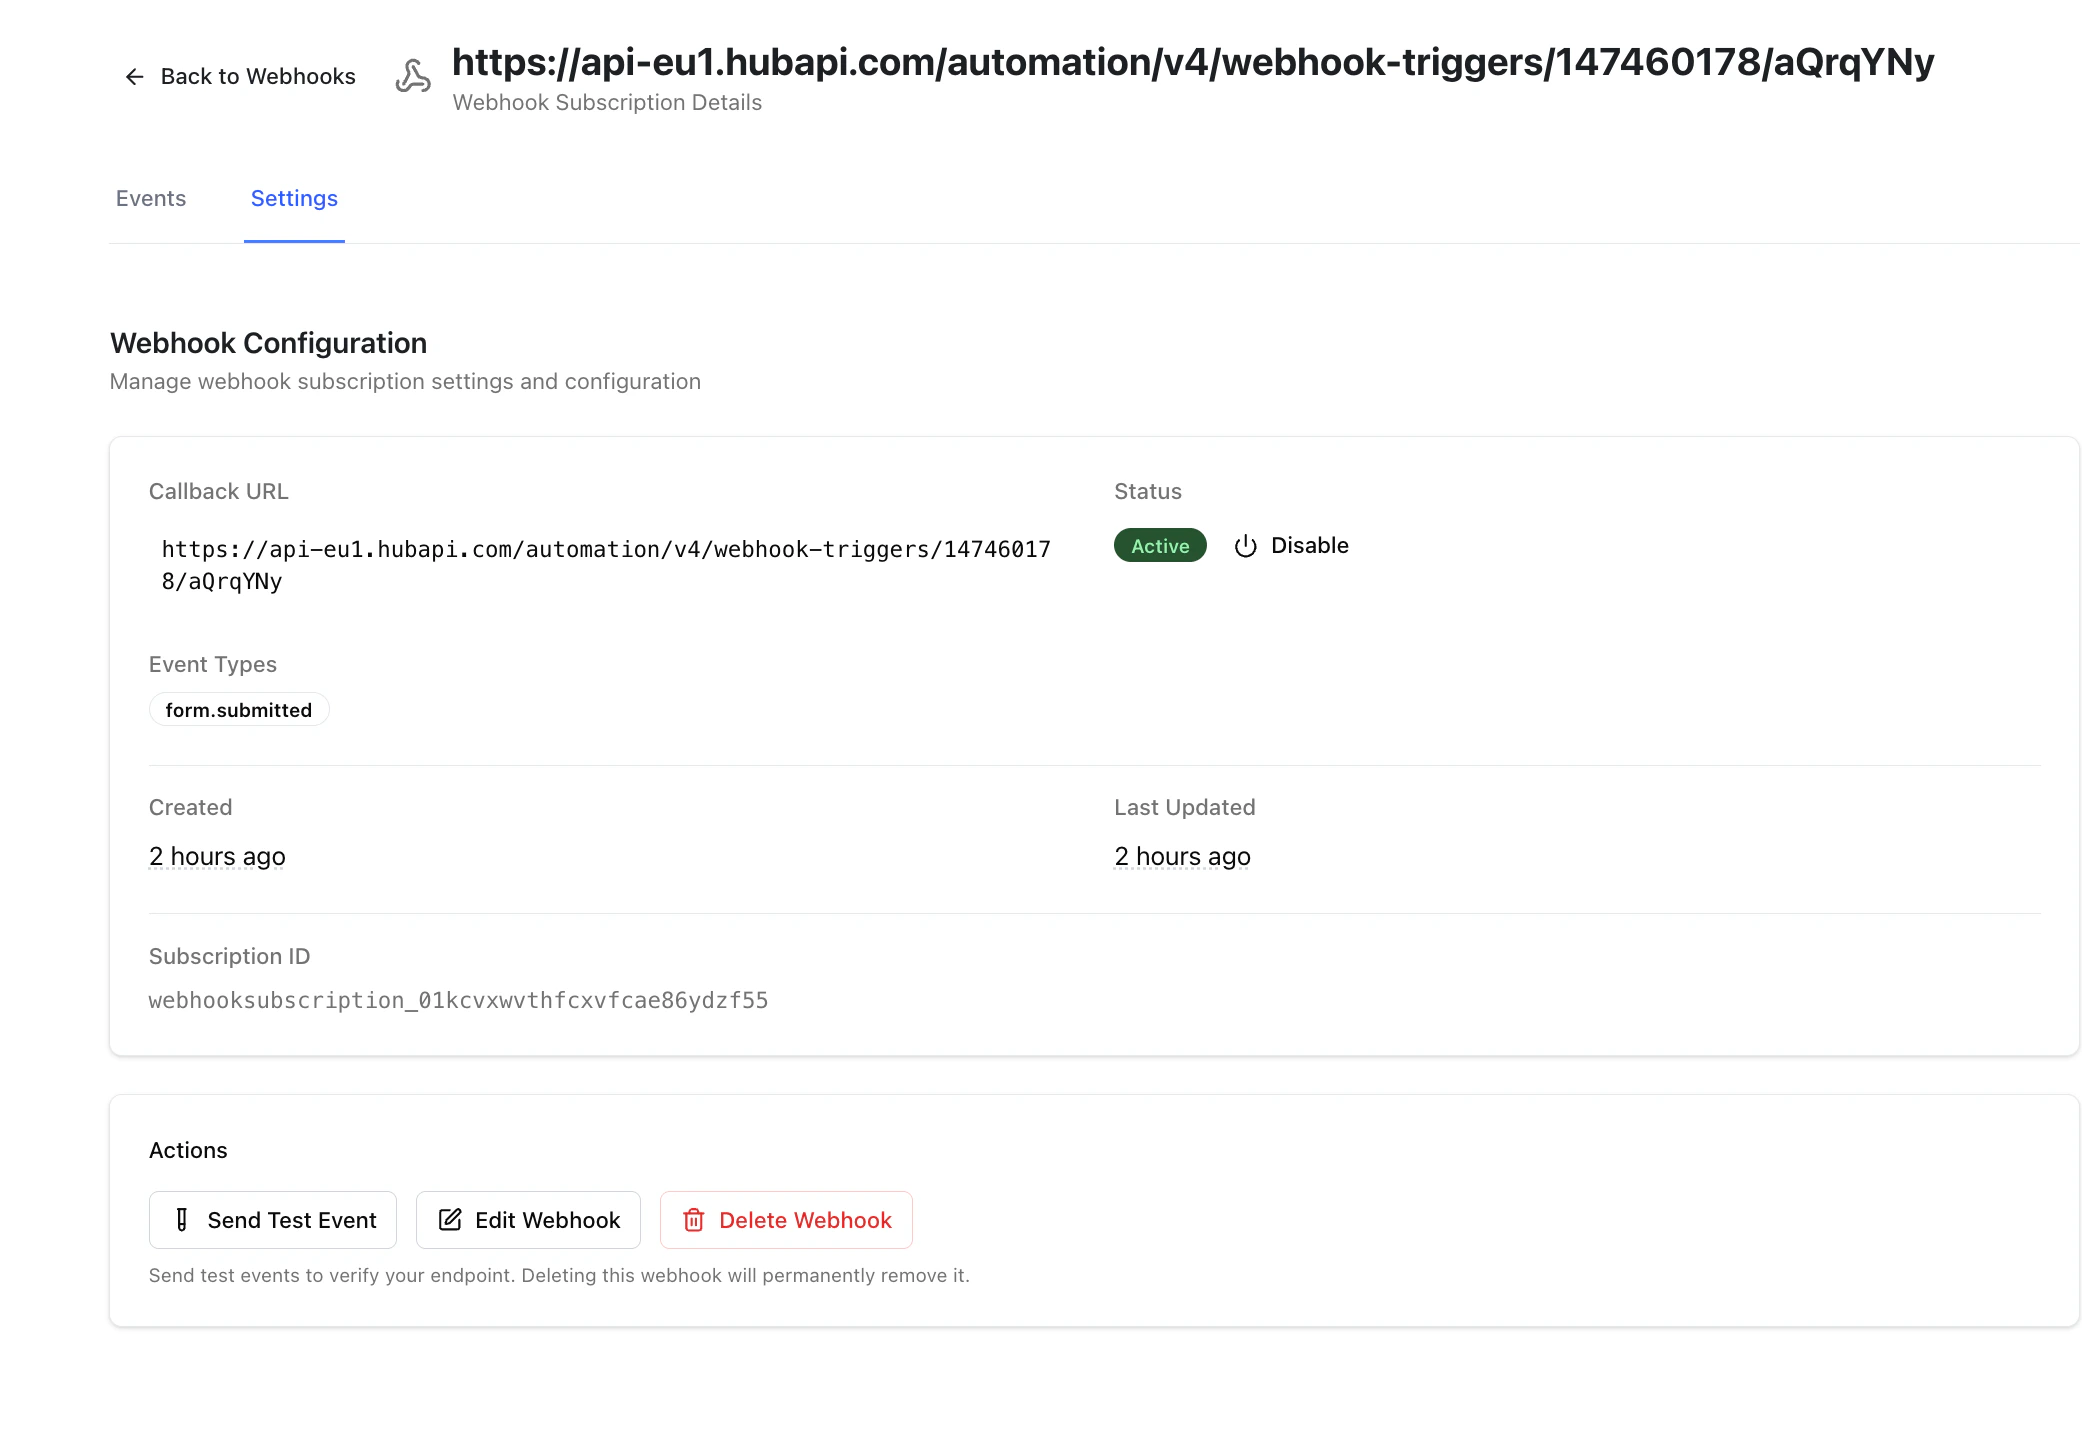
- Before moving on, go to your Webhook settings page in the Architect platform and submit a test form. This sends a sample to the webhook.
If you are using multi-field forms, you can test directly from the Architect page by submitting the full form. This will help you with mapping all of the fields to the right areas later.
- Go back to Zapier and click Test trigger.
- Verify that Zapier successfully caught the hook and displays your test data (e.g., Email, First Name, Last Name).
- Click Continue.
Set up the Marketo action
- In the “Action” step, search for and select Marketo.
- For the Action Event, choose Create or Update Lead (or the specific action that fits your campaign).
Connect your Marketo account
- Click “Sign in” to connect your Marketo instance to Zapier.
- A new window will pop up asking for your Marketo Client ID, Client Secret, and Munchkin Account ID / Base URL. You can find these in your Marketo Admin settings under Integration > LaunchPoint and Integration > Web Services.
- Once authenticated, select your account and click Continue.
Map the webhook data to Marketo fields
- You will now see a list of Marketo fields. You need to tell Zapier which piece of webhook data goes where.
- Click into the Email field (usually required) and select the corresponding email data point from your webhook payload.
- Map any additional fields you collected on your Architect form (e.g., First Name, Last Name, Company, Job Title) to their matching Marketo fields.
- Choose a Workspace and Partition if your Marketo instance requires it.
- Click Continue.
Test and publish your Zap
- Try the form on the webpage itself to send your sample lead data over to Marketo.
- Log into your Marketo account and search your Lead Database to verify that the test lead was created or updated correctly.
- Once you confirm it’s working, go back to Zapier and click Publish to turn your Zap on.